
Installation for macOS
Adding the Printer on macOS
Some macOS versions provide an easy way to install,
- Follow this link: ipps://him-printsrv-02.zdv.uni-mainz.de:53443/ipp/print
- Next: Proceed with the authentication step, see below.
If the above does not work go on with the following:
Alternative way
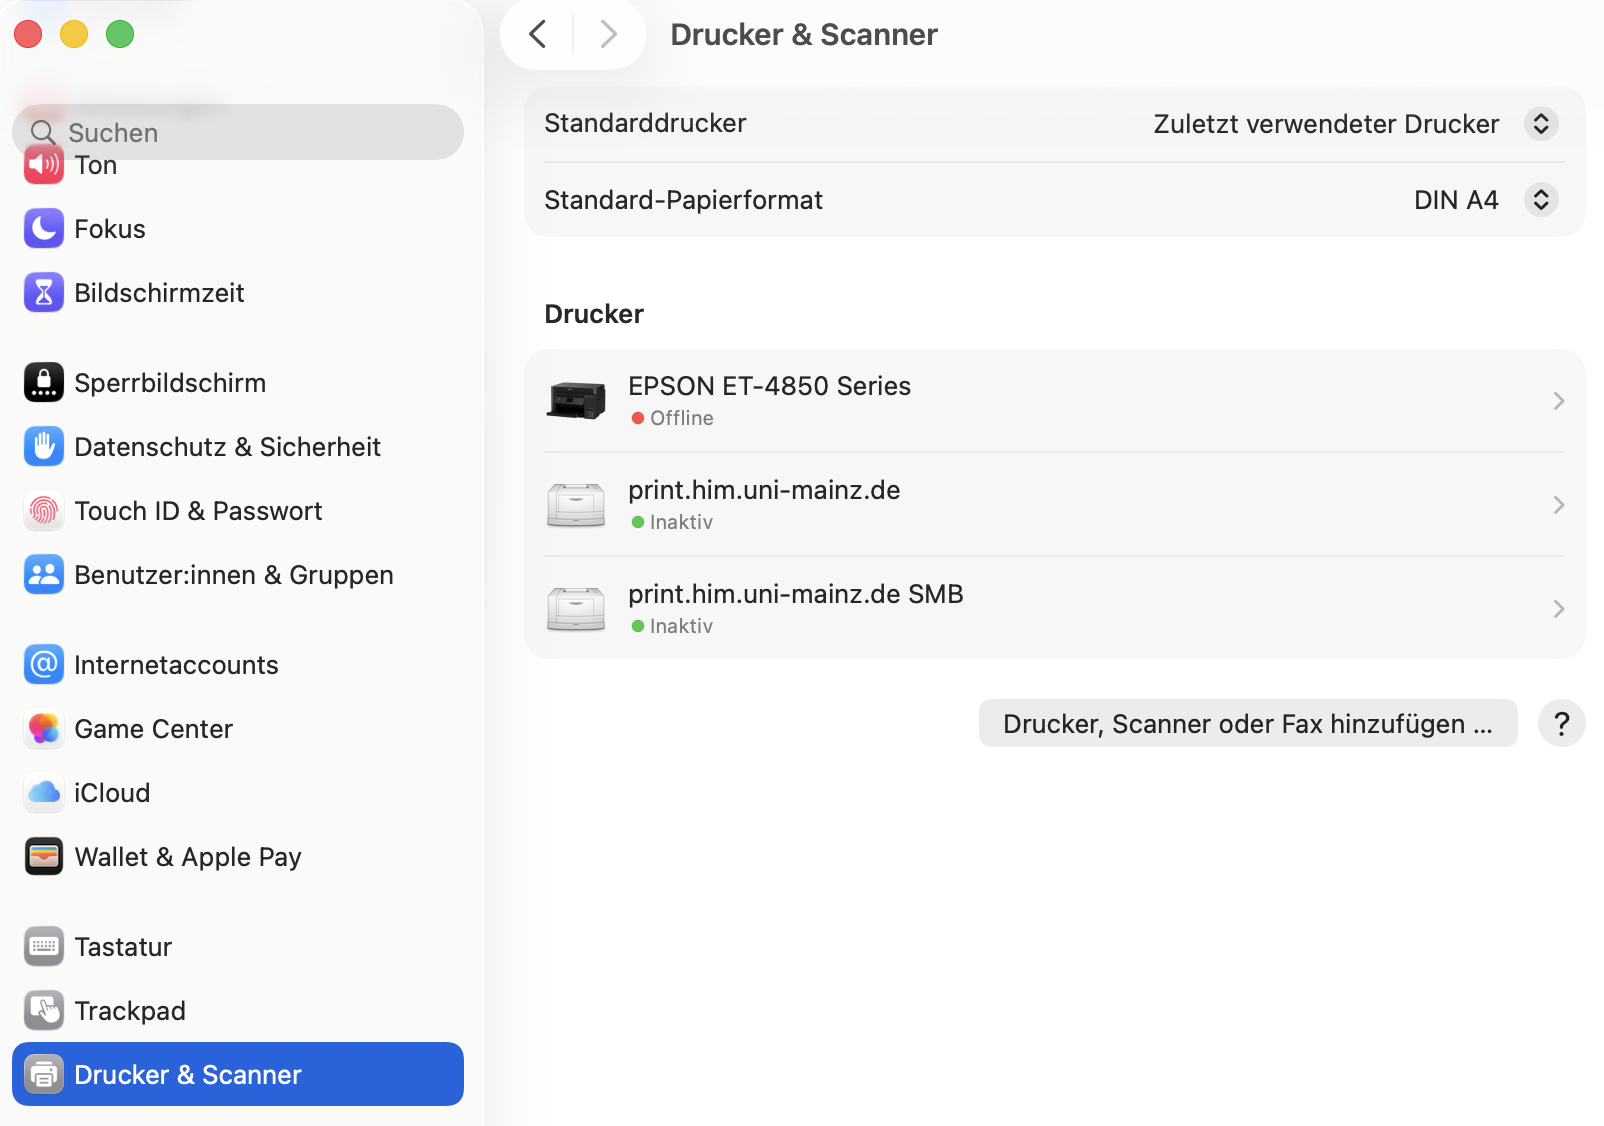
Open the system control and look for printers, click "add".
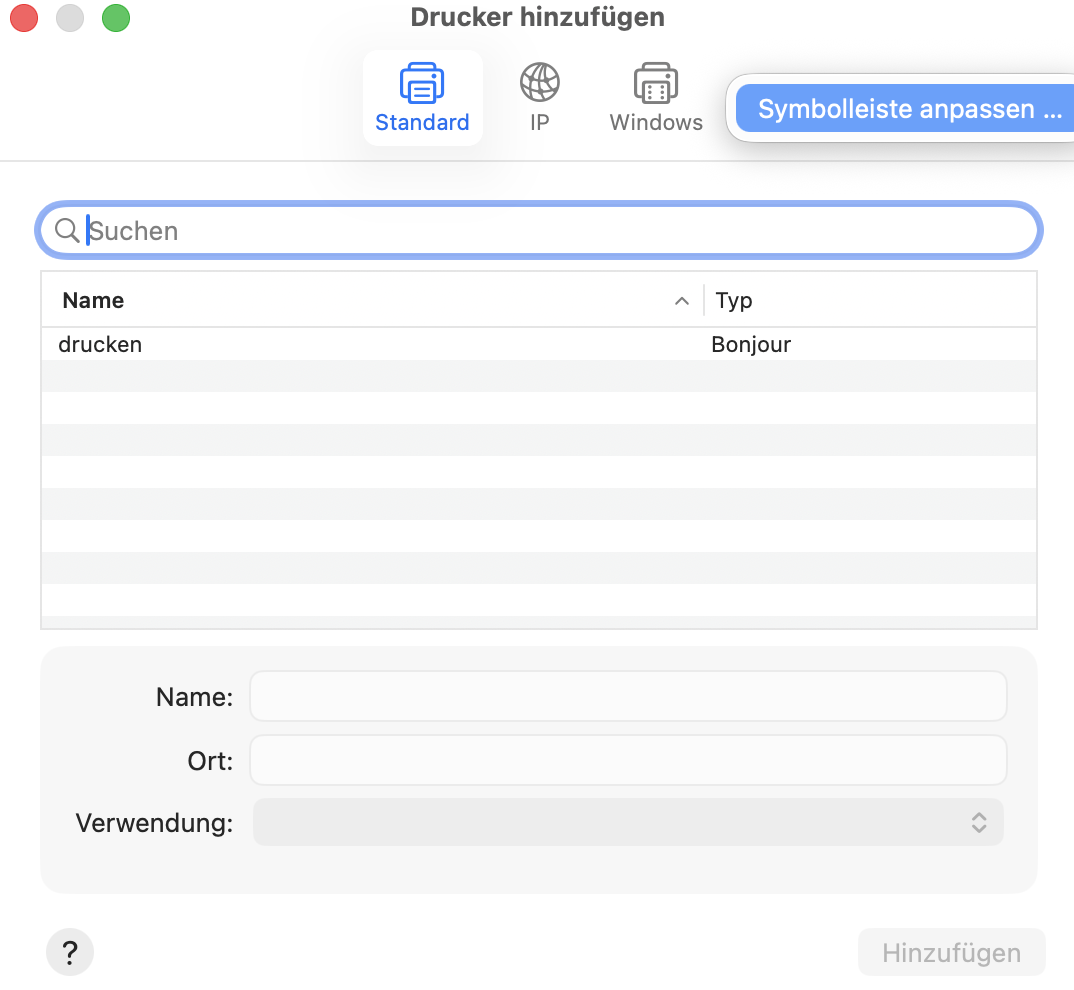
RIGHT click on the top bar and hit "change settings".
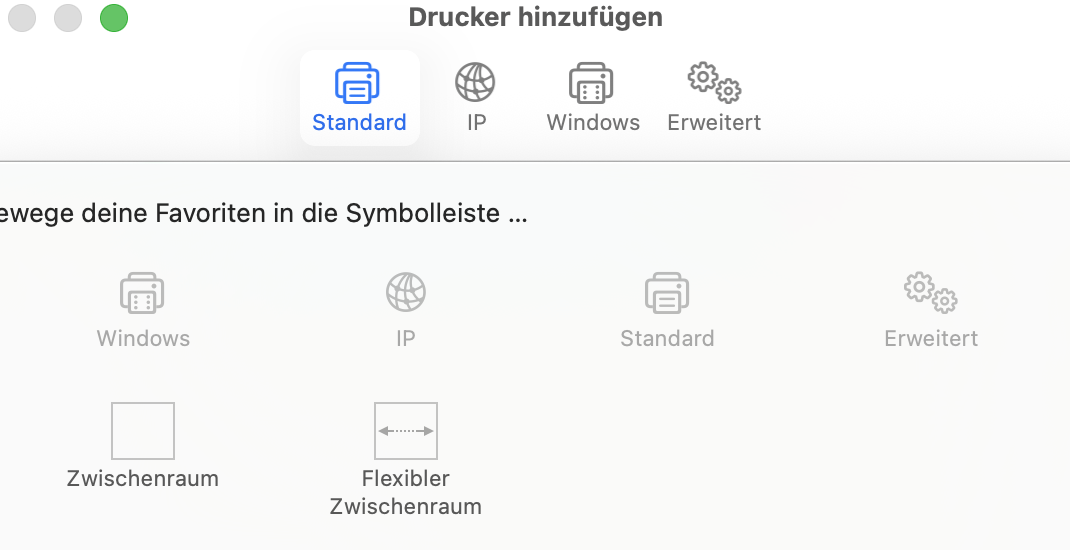
Drap and Drop the "advanced" button into the top area.
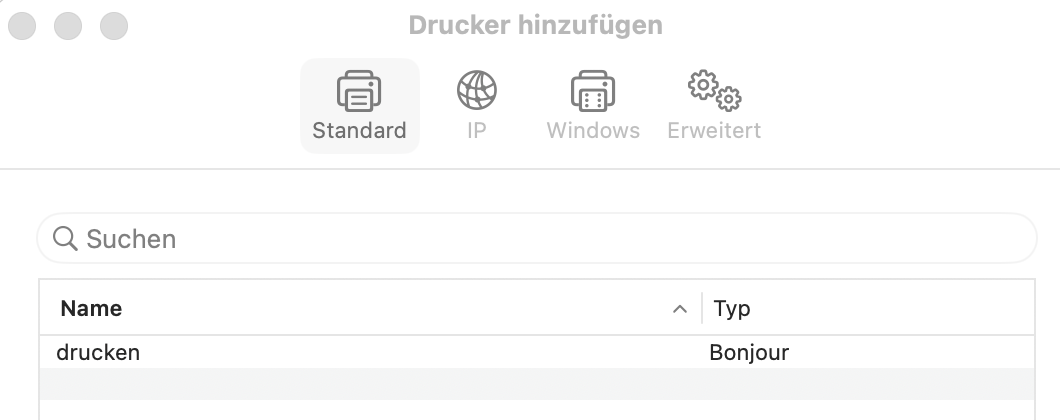
The windows should now look like this. Click "advanced".
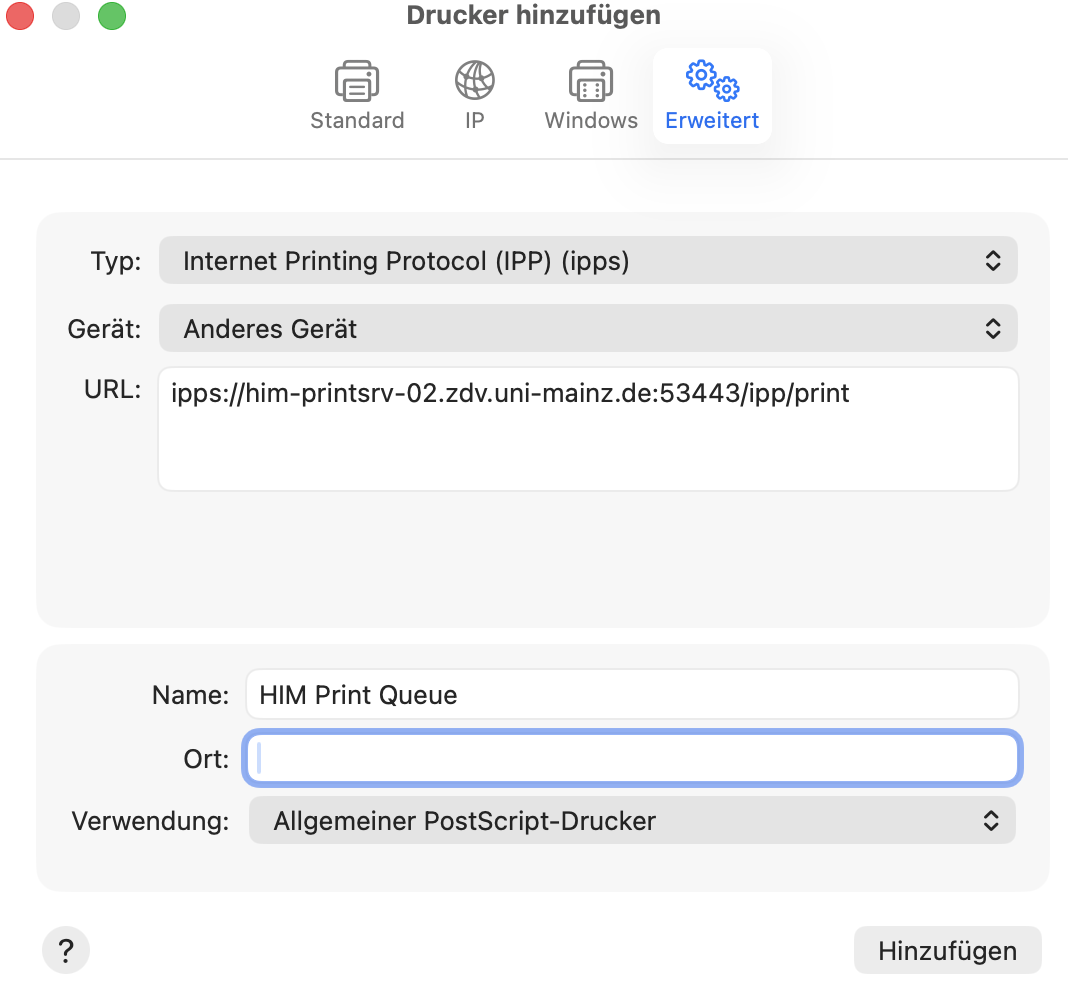
Enter the information as shown on the right.
- Select IPPS
- URL: ipps://him-printsrv-02.zdv.uni-mainz.de:53443/ipp/print
- Printer: "General PS Driver"
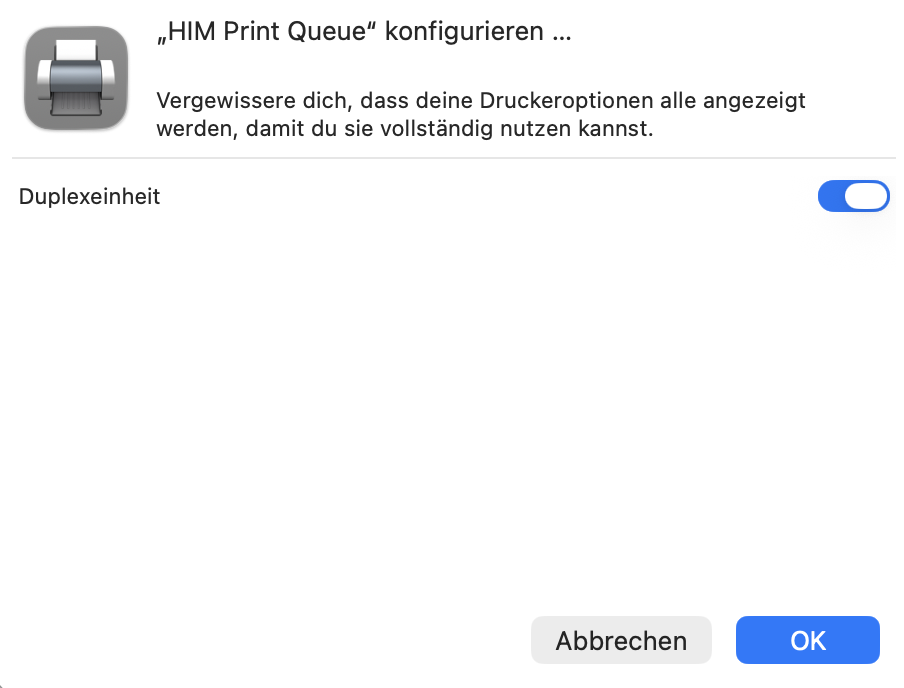
Make the duplex unit available.
Hit OK and your printer is installed. Proceed with the authentication step.
Authenticating with the Print System
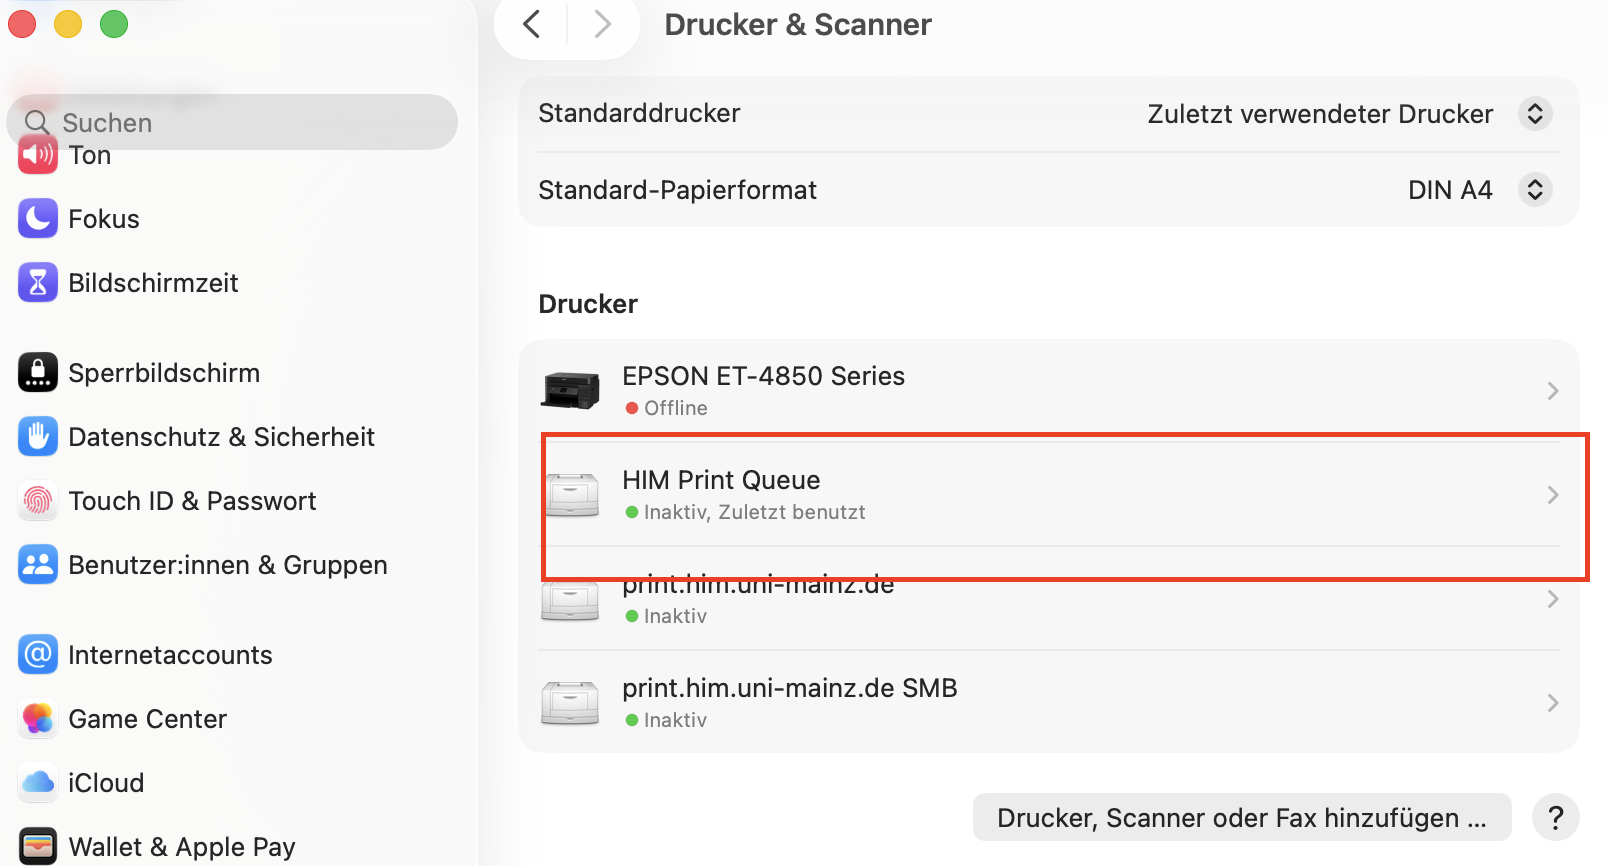
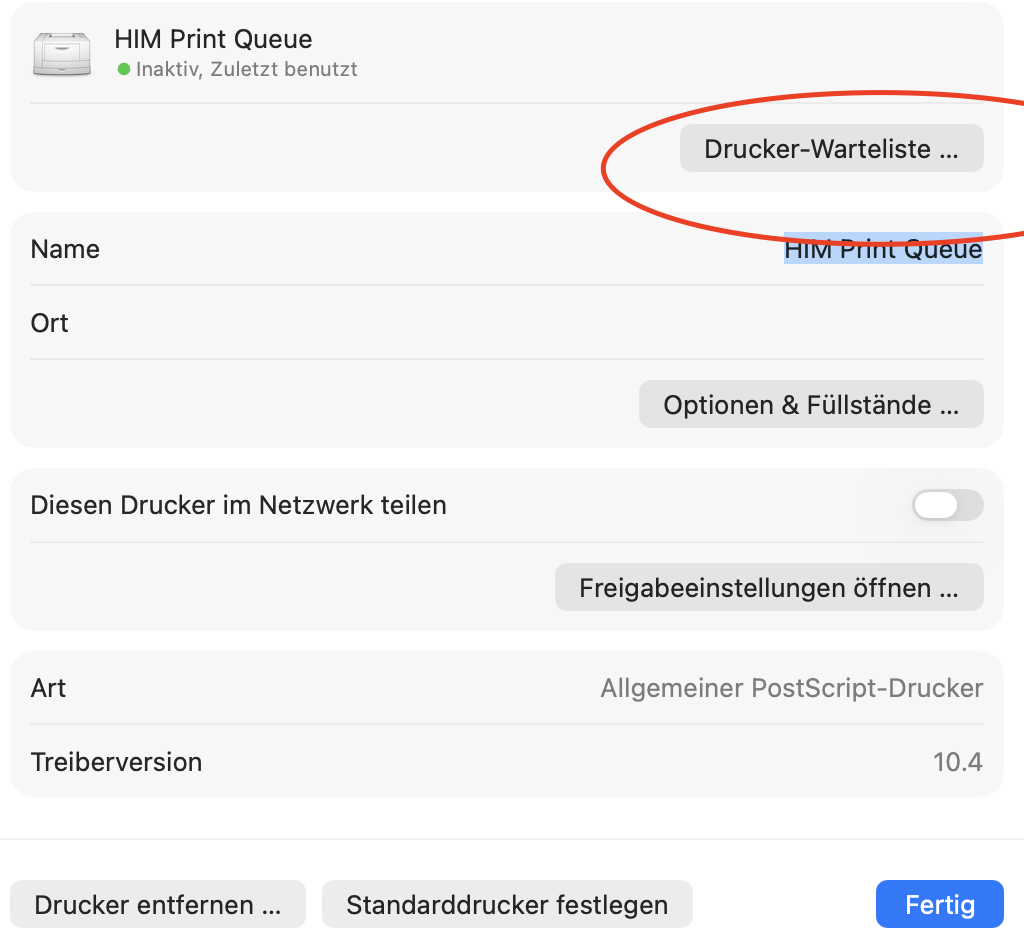
Open the newly added printer to show its print queue:
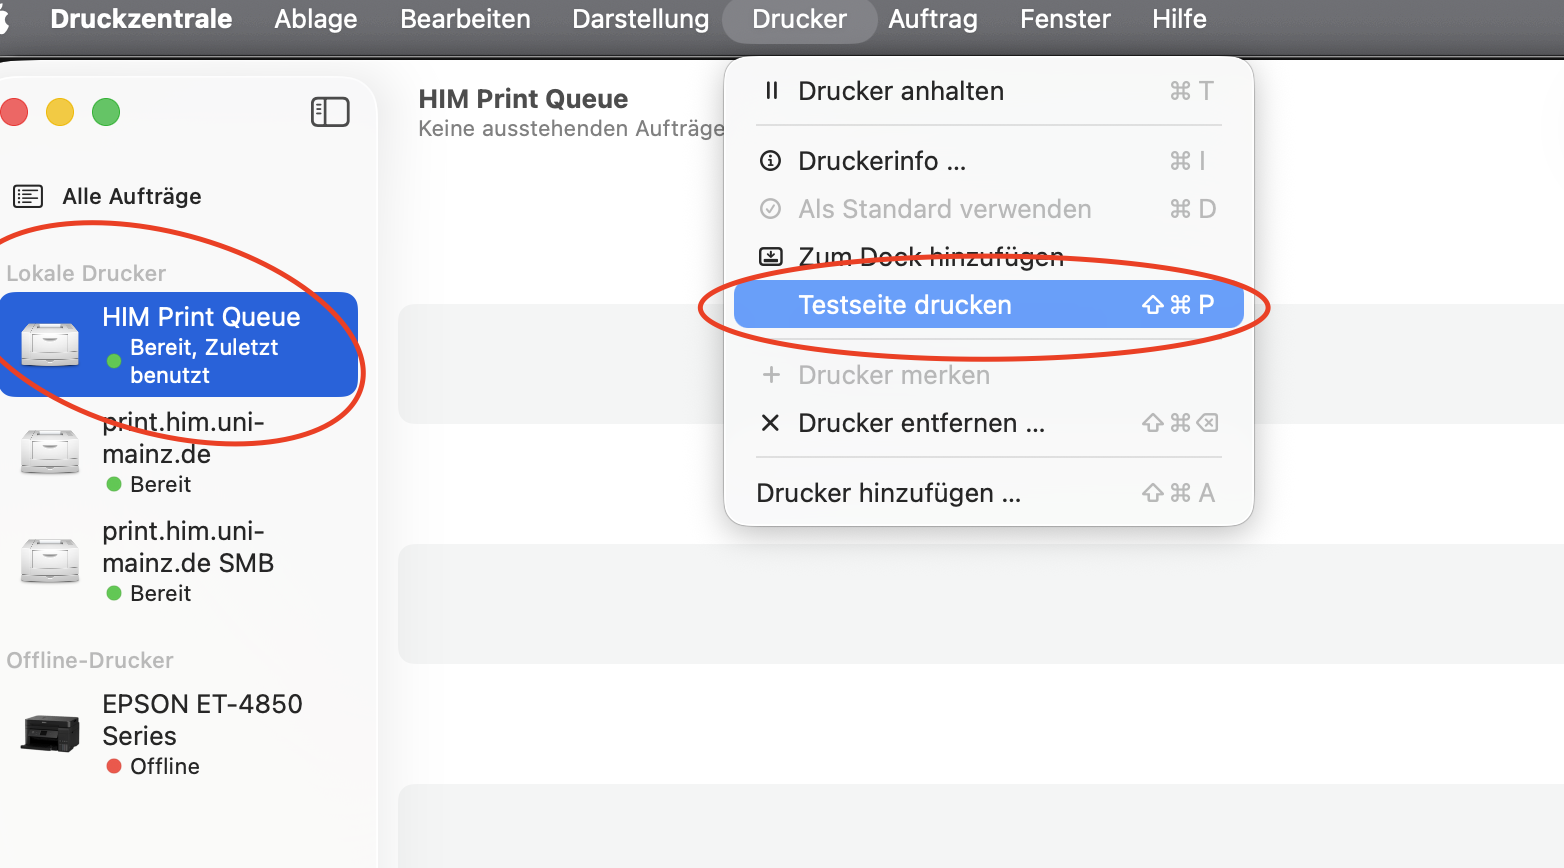
Go to the menu and print a test page:

Your print job will be held for authentication. Click on the small circular icon to the right the print order:
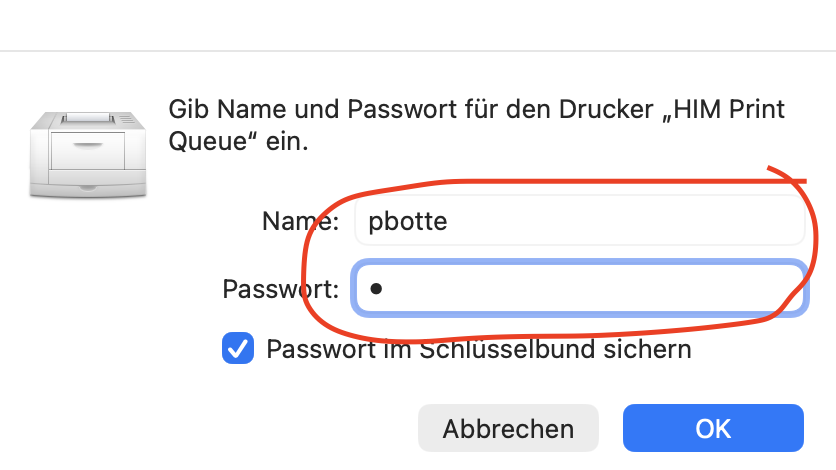

The authentication window should pop up. Enter your ZDV username/password and check "Remember pasword": (do not enter any domain information like "uni-mainz\", etc.)
Your print job should disappear from the queue shortly. You can now release the print job on any device.

Hint: If you misspelled you username and or password, the dialogue will remain like so:
Advanced Drivers
To make use of the full peature set of our printers, use the latest print driver versions from the manufacture webpage for Ricoh IM printers.